The E-flite UMX Turbo Timber is a sophisticated hobby product demanding caution, common sense, and basic mechanical skills for safe operation and enjoyment.
This manual provides crucial safety, operation, and maintenance instructions; reading it entirely before use is paramount to prevent damage or serious injury.
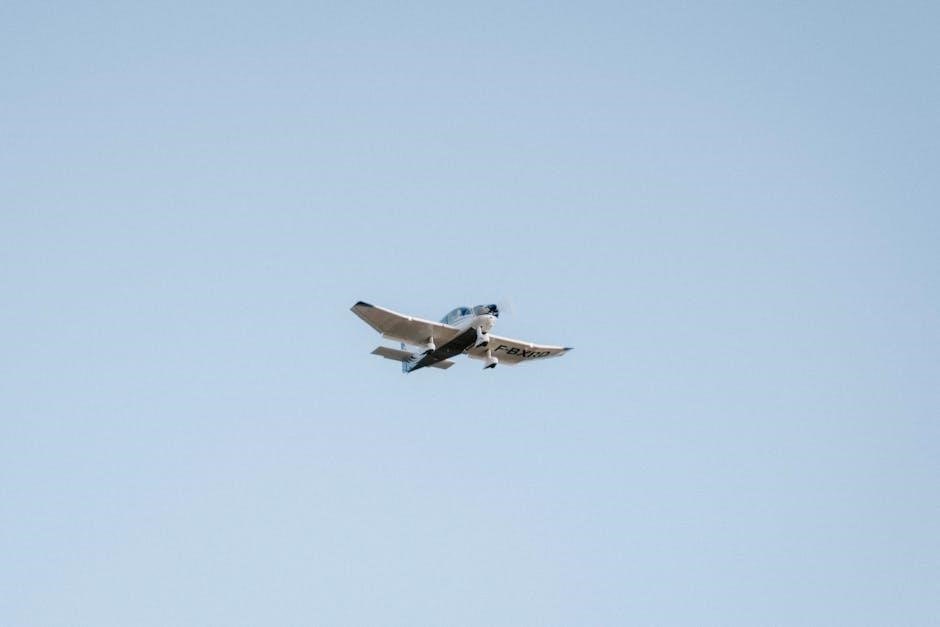
What is the UMX Turbo Timber?
The UMX Turbo Timber, as detailed in the EFLU6950 manual from Horizon Hobby (published February 1, 2022), represents a remarkable advancement in ultra-micro bush plane technology. It’s designed as a Bind-N-Fly (BNF) model, meaning it requires a compatible transmitter to operate, offering pilots a convenient and quick path to flight.
This model isn’t a toy; it’s a sophisticated hobby product requiring responsible operation. The manual explicitly warns against use by children without direct adult supervision and stresses the importance of avoiding modifications outside of Horizon Hobby’s provided instructions. It’s built for enthusiasts seeking a versatile platform capable of STOL (Short Takeoff and Landing) performance and bush flying adventures.
Understanding its nature as a radio-controlled aircraft subject to potential interference is vital. The manual emphasizes maintaining a safe distance from people and property due to the possibility of momentary control loss.
Key Features and Benefits
The UMX Turbo Timber, according to the EFLU6950 manual, delivers a compelling blend of performance and convenience. A primary benefit is its Bind-N-Fly (BNF) nature, simplifying setup for those with compatible transmitters. Its design prioritizes safety, with the manual repeatedly stressing the need for cautious operation and maintaining a safe operating distance.
The model’s inherent capability for STOL performance expands its usability, allowing operation from confined spaces. However, the manual cautions against complacency, highlighting the susceptibility to radio interference and potential momentary loss of control.
Furthermore, the manual underscores the importance of responsible use, emphasizing the need to avoid water exposure and keep components out of reach of children. These features collectively contribute to an enjoyable, yet safe, flying experience.
Intended Use and Skill Level
The E-flite UMX Turbo Timber, as detailed in the EFLU6950 manual, is presented as a sophisticated hobby product. Its intended use centers around recreational flying, benefiting from its STOL capabilities for operation in varied environments. However, the manual explicitly states it’s not intended for use by children without direct adult supervision.
Regarding skill level, the manual doesn’t specify a precise proficiency requirement, but its repeated emphasis on caution, common sense, and basic mechanical ability suggests it’s best suited for those with some prior experience in RC aircraft.
Operators must understand the potential for radio interference and momentary control loss, indicating a need for awareness and responsible flying practices. It’s a model demanding respect and informed operation.
Safety Precautions
Always maintain a safe distance around the model to prevent collisions or injury, recognizing radio signal interference can cause momentary control loss.
General Safety Guidelines
Operating this model requires responsible behavior and adherence to all provided instructions to mitigate risks of injury or property damage. This isn’t a toy; direct adult supervision is mandatory when children are present.
Always operate in open spaces, far from full-size vehicles, traffic, and bystanders. Prioritize a clear flight path and be mindful of your surroundings. Carefully review and follow all directions for the model and any accompanying equipment, like chargers and batteries.
Keep chemicals, small parts, and electrical components inaccessible to children. Avoid exposing any equipment to water unless specifically designed for such conditions, as moisture causes electronic damage.
Remember that the model is controlled via radio signals susceptible to interference. Be prepared for potential momentary loss of control and react accordingly. Prioritize safety above all else.
Radio Interference and Loss of Control
The radio signal controlling your E-flite UMX Turbo Timber is vulnerable to interference from numerous external sources beyond your control. This interference can manifest as momentary loss of control, a critical safety concern that demands your immediate attention.
Be aware that factors like other radio transmitters, power lines, and even certain electronic devices can disrupt the signal. If you experience a loss of control, immediately reduce throttle and attempt to regain orientation.
Maintain a safe flying area, away from potential sources of interference. Regularly check your radio system’s functionality and be prepared to land immediately if control is compromised. Understanding this risk is crucial for safe operation.
Always prioritize a controlled landing over attempting to continue flight with a compromised signal.
Operating Environment Considerations
Always operate your E-flite UMX Turbo Timber in open spaces, far removed from full-size vehicles, pedestrian traffic, and any obstructions. Selecting a suitable flying location is paramount for safety and preventing accidents.
Avoid flying near power lines, buildings, or areas with dense electromagnetic interference. Moisture poses a significant threat to the electronic components; therefore, strictly avoid water exposure unless the equipment is specifically designed and protected for such conditions.
Be mindful of wind conditions, as strong gusts can impact control and potentially lead to crashes. Regularly assess the environment for changing conditions and adjust your flying accordingly. Prioritize a safe and controlled flight experience.
Remember that responsible operation includes respecting your surroundings and other people.
Package Contents
The package includes the aircraft, and necessary components for assembly; however, additional equipment like a transmitter, battery, and charger are required separately.
Listing of Included Components
Upon opening the package, you will find the fully assembled UMX Turbo Timber aircraft, ready for final assembly steps. Included are the wing halves, requiring attachment to the fuselage for flight readiness. The tail surfaces – horizontal and vertical stabilizers – are also present, needing secure installation.
Additionally, the package contains the landing gear components, allowing for ground operations. You’ll also discover a product manual providing detailed instructions for setup and operation. A bag of spare parts, including control horns and pushrods, is included for potential repairs or replacements. Please carefully inventory all components against the parts list within the manual to ensure everything is present before proceeding with assembly. Missing parts should be reported to Horizon Hobby immediately for swift resolution.
Required Additional Equipment (Not Included)

To get your UMX Turbo Timber airborne, several essential items are needed beyond what’s in the box. A compatible DSMX/DSM2 full-range transmitter is crucial for controlling the aircraft; ensure it has at least 6 channels. A compatible receiver, capable of binding with your transmitter, is also required to translate signals.
Powering the aircraft necessitates a suitable LiPo battery – typically a 2S 7.4V battery with a capacity around 700-800mAh – and a LiPo-compatible battery charger. You’ll also need building and field equipment like threadlock, screwdrivers, and potentially a plyer. Finally, consider purchasing a battery checker to monitor voltage levels and ensure safe operation. These items are sold separately and are vital for a successful flying experience.

Assembly
Carefully follow these instructions to assemble your UMX Turbo Timber, ensuring all components are securely connected for optimal performance and a safe flying experience.
Wing Assembly
Begin by carefully unpacking the wing halves and inspecting them for any shipping damage. Ensure the ailerons are free to move smoothly and are properly hinged. Apply a small amount of CA adhesive (cyanoacrylate, commonly known as super glue) to the hinge points if necessary, but avoid excessive amounts that could bind the control surfaces.
Next, join the wing halves together using the provided wing joiner. Slide the joiner into the designated slots in each wing half, ensuring a snug and secure fit. Reinforce the joint with packing tape for added strength during initial flights. Double-check the alignment of the wing halves to ensure a symmetrical and aerodynamically sound wing assembly.
Finally, verify that the aileron control horns are securely attached and that the pushrods connect smoothly to the aileron servos. Proper wing assembly is crucial for stable and predictable flight characteristics.
Tail Assembly
Start by identifying the horizontal and vertical stabilizer components. Inspect them for any damage sustained during shipping. Carefully attach the horizontal stabilizer to the fuselage using the provided screws or adhesive, ensuring it is perfectly aligned and level. Misalignment can significantly impact flight performance.
Next, attach the vertical stabilizer, again verifying proper alignment with the fuselage. Ensure the rudder control horn is securely fastened and that the pushrod connects smoothly to the rudder servo. A small amount of threadlock on the screws is recommended to prevent loosening during flight.
Double-check all connections and ensure the tail surfaces are firmly secured before proceeding. Proper tail assembly is vital for stable flight and responsive control.
Landing Gear Installation
Begin by locating the landing gear struts and wheels within the parts package. Carefully attach the main landing gear struts to the designated mounting points on the underside of the fuselage, utilizing the provided screws. Ensure the struts are securely fastened and oriented correctly for optimal ground handling.
Next, install the nose gear strut, paying attention to its alignment with the fuselage and the main gear. Verify that the wheels spin freely and are not obstructed by the struts or airframe. A small amount of threadlock on the screws is advisable to prevent loosening during operation.
Finally, double-check all landing gear connections for tightness and stability. Properly installed landing gear is crucial for safe takeoffs and landings.
Radio System Setup
Proper radio setup is essential for controlling the UMX Turbo Timber; ensure transmitter compatibility and carefully follow the binding procedure for reliable operation.
Transmitter Compatibility
The E-flite UMX Turbo Timber is designed to be compatible with a variety of Spektrum DSMX and DSM2 transmitters. To ensure optimal performance and reliable control, it’s crucial to use a transmitter that supports these protocols.
Specifically, a 6-channel or greater transmitter is recommended to fully utilize all the features and control surfaces of the model. While compatibility with other transmitter brands may exist, it is not guaranteed and could require additional configuration or adapters.
Before attempting to bind the receiver, verify that your transmitter is updated with the latest firmware. This will help prevent potential communication issues and ensure a stable connection. Refer to your transmitter’s manual for instructions on updating the firmware.
Always double-check the polarity of any connections when using external transmitters or receivers to avoid damaging the components.
Binding Procedure
To bind the receiver in your E-flite UMX Turbo Timber, begin by powering on your Spektrum DSMX or DSM2 transmitter. Next, connect the battery to the receiver while holding the bind button located on the receiver itself. The receiver’s LED will begin to flash, indicating it’s in bind mode.
On your transmitter, initiate the binding process according to your transmitter’s manual. Typically, this involves navigating to the binding menu and selecting the appropriate bind option. Once the binding process is complete, the receiver’s LED will become solid, confirming a successful connection.
If binding fails, repeat the process, ensuring the bind button is held during power-up and that no other aircraft are nearby to cause interference. A strong and reliable bind is essential for safe and controlled flight.
Control Surface Setup and Reversal
Verify control surface direction after binding. With the transmitter powered on, check that each control surface – ailerons, elevator, and rudder – moves in the correct direction corresponding to your stick inputs. Incorrect movement indicates a need for reversal.
To reverse a control surface, access the function menu on your Spektrum transmitter. Navigate to the channel assignment and reversal settings. Select the channel corresponding to the surface needing adjustment and toggle the reversal switch. Repeat this process for each surface as necessary.
Proper control surface setup is critical for predictable handling. Double-check all reversals before flight to ensure accurate and responsive control during operation.

Power System
The UMX Turbo Timber’s power system requires careful battery installation, ESC calibration, and adherence to proper charging procedures for optimal performance and longevity.
Battery Installation and Connection
Carefully install the battery into the designated compartment, ensuring a secure and snug fit to prevent movement during flight. Connect the battery plug to the ESC (Electronic Speed Controller) connector, observing correct polarity – typically, matching the colored wires or indicated markings.
Always double-check the connection before powering on to avoid potential damage to the ESC or battery. Ensure the battery is firmly seated and the connector is fully engaged. Avoid forcing the connector, as this can cause damage.
It is crucial to use only compatible batteries as specified in the manual to maintain the performance and safety of the UMX Turbo Timber. Incorrect battery voltage or type can lead to malfunction or damage. Prior to each flight, inspect the battery connector and wiring for any signs of damage or wear.
ESC Calibration
The Electronic Speed Controller (ESC) may require calibration to ensure optimal throttle range and responsiveness. This process synchronizes the ESC with your transmitter’s throttle signal. Refer to the specific calibration procedure outlined in this manual, as it may involve a specific sequence of transmitter stick movements while powering on the model.
Calibration typically involves setting the throttle to its maximum and minimum positions during the power-up sequence. Following the correct procedure is vital for proper motor operation and preventing unexpected behavior.
If the motor exhibits erratic behavior, such as shuddering or failing to respond correctly to throttle inputs, re-calibration is recommended. Always disconnect the battery before attempting any ESC adjustments or calibrations. Incorrect calibration can lead to motor damage or loss of control.
Charging Procedures
Always use a Li-Po compatible battery charger specifically designed for charging Lithium Polymer batteries. Never use chargers not intended for Li-Po batteries, as this can result in fire or explosion. Monitor the charging process closely and never leave a charging battery unattended. Charge batteries on a heat-resistant, non-flammable surface.
Set the charger to the correct battery capacity and cell count as specified for the UMX Turbo Timber’s battery pack. Utilize the charger’s balance function to ensure each cell is charged equally, maximizing battery life and performance.
Do not overcharge the battery. Disconnect the battery immediately once charging is complete. Avoid exposing the battery to extreme temperatures during or after charging. Proper charging practices are crucial for battery safety and longevity.

Pre-Flight Checks
Before each flight, perform a range check, verify control surface functionality, and confirm adequate battery voltage to ensure safe and reliable operation.
Range Check
Prior to flying, a thorough range check is absolutely essential to verify the effective communication link between your transmitter and the UMX Turbo Timber receiver.
Power on the transmitter and connect the flight pack to the aircraft, ensuring the receiver also powers up. With the model on the ground, walk away from it approximately 100 feet (30 meters), with the transmitter antenna oriented vertically.
While walking, continuously operate all control surfaces – elevator, ailerons, and rudder – observing their response. If any erratic behavior or loss of control is noted at any point during the walk, do not fly. Investigate and resolve the issue before attempting flight.
Remember, radio signals are susceptible to interference, and a successful range check doesn’t guarantee interference-free operation during flight; maintain visual contact and be prepared for potential signal loss.
Control Surface Functionality Check
Before each flight, meticulously verify the correct operation of all control surfaces – ailerons, elevator, and rudder – to ensure precise control of the UMX Turbo Timber.

With the transmitter and aircraft powered on, slowly move each control stick and observe the corresponding control surface movement. Confirm that each surface deflects in the correct direction according to the transmitter inputs.
Pay close attention to the range of motion; surfaces should move smoothly and consistently throughout their entire travel. If any binding, excessive play, or reversed control is detected, do not fly. Address these issues before proceeding.
Proper control surface functionality is critical for safe and predictable flight; a pre-flight check can prevent unexpected behavior and potential crashes.
Battery Voltage Check
Prior to every flight, it’s essential to verify the battery voltage of your LiPo pack to ensure sufficient power for safe operation of the UMX Turbo Timber. Discharging the battery too low can cause damage and reduce its lifespan.
Use a compatible LiPo voltage checker to accurately measure the voltage of each cell within the battery pack. Compare the reading to the recommended voltage range specified in this manual.
Do not fly if the voltage is below the minimum recommended level. A fully charged battery will provide optimal performance and flight time. Always prioritize battery health and safety.
Consistent voltage checks contribute to responsible battery management and help prevent unexpected power loss during flight, safeguarding both the aircraft and yourself.
No Responses